Category Archives: Raspberry Pi

Apple II Super Serial Card w/ EEPROM

SSC-EEPROM


When Apple designed the Super Serial Card back in 1981, they made it compatible with SRAM chips, replacing the ROM it shipped with. Modern EEPROM look just like SRAM chips, with a longer write cycle, so I popped one in, added a write-protect switch, and off I go to debug the Apple II Pi PiDrive ROM code.

SIDrive

Rodney’s H/W arrived and it fired right up. Made some firmware updates, optimized the sketch, and we have a reasonable perky SDCard storage for the Apple II. I re-christened PiDrive to SiDrive: Serial Interface Drive.


Kevin Dady’s website that Rodney based his design on: http://osgeld.a2hq.com

What is the Apple II Pi?

Basically, the Apple II Pi is the integration of an Apple II with a Raspberry Pi (http://www.raspberrypi.org) to create a hybrid computer combining the input devices and storage mediums of the Apple with the CPU, GPU (graphical processing unit), USB, and network capabilities of the Broadcom BCM2835 SoC (think smartphone processor).  The concept is to create an updated version of the Apple II using some imagination, low-level drivers, off-the-shelf hardware, and a closely coupled communications channel; thus bringing semi-modern hardware and 32 bit *nix software to the Apple II platform.  The Apple II is running as a dedicated I/O processor for the Raspberry Pi under ProDOS.  The Raspberry Pi is running a version of Debian Linux: Raspbian.  Much like the PC Transporter card brought MS-DOS and the Z-80 card brought CP/M, the Apple II Pi brings Linux to the Apple II using the Apple’s input devices and the Raspberry Pi’s video output.  As such, knowledge and familiarity with Linux is required to get the most out of its environment.  Under Linux, the Apple II Pi can read and write the Apple’s storage devices (floppies/harddrives/CFFA) and also run the GSport Apple IIgs emulator (http://gsport.sourceforge.net).  Together, GSport and Apple II Pi provide an immersive environment providing access to most of the Apple II hardware you own plus an accelerated ~20MHz 65816 with up to 8 MB RAM, and all the disk images you can fit on the SD card.

Videos of Apple II Pi development

Videos of Apple II Pi in action

Download the User Manual

FAQ

What additional parts are needed to use the Apple II Pi adapter card?

Aside from a functional Apple II (64K with 5¼ floppy drive connected to slot 6), you need a Raspberry Pi with an installed OS on its SD card.  To attach a DVI or HDMI monitor/TV to the Raspberry Pi, an HDMI angle adapter is needed to redirect the downward facing HDMI port once the Raspberry Pi is attached to the Apple II Pi adapter card.  Depending on which slot the Apple II Pi will be plugged in to, a 90 or 270 degree adapter will be needed.  An HDMI or HDMI->DVI cable long enough to exit the Apple II case and attach to the monitor/TV is also required.  If you don’t have an Apple II mouse, a USB mouse will be required for running the X Window GUI environment.

Is a power supply needed with the Apple II Pi adapter card?

No.  The Raspberry Pi gets power from the Apple II through the adapter card’s header connection.

Is the Raspberry Pi talking directly to the Apple II peripherals?

No, the Apple II is running a custom driver that reads input from the keyboard and mouse, then sends these events over a high speed serial connection to a custom driver on the Raspberry Pi that injects them into the Linux input subsystem.  The Apple II keyboard and mouse look just like any other keyboard and mouse to the Raspberry Pi.  The Apple II joystick and storage devices are made available to Linux with additional drivers that run code on the Apple II using a special Apple II Pi protocol.

Additional information:  There was talk about interfacing the Raspberry Pi directly to the Apple II bus when this concept was originally posed on comp.sys.apple2.  However, after reviewing the I/O pins on the Raspberry Pi and the real-time software challenges of this approach, the decision to interface the two computers using a high-speed serial interface with a custom protocol and client/server drivers was made.  This method also allows the Apple IIc and Apple IIe with a Super Serial Card to use the Apple II Pi software without modification.  This is, in fact, how the software was developed before and after the Apple II Pi interface adapter was built.

Do I have to use the Apple II keyboard and mouse?

No, the Raspberry Pi has USB ports (one on the Model A, two on the Model B) that can be used to plug in modern keyboards and mice.  Additional devices can be plugged in using a compatible USB hub.  They can be used in parallel with the Apple II keyboard and mouse.  If you don’t have an Apple II mouse, just plug in a USB mouse, and it will work fine.

What monitor do I use with the Apple II Pi?

Here you have some options: the default would be to use the HDMI output of the Raspberry Pi to plug into a DVI or HDMI monitor/TV.  The composite port of the Raspberry Pi was compromised to allow clearance for the HDMI port.  With a hacked up video cable and a soldering iron, you can connect the composite video cable directly to the Raspberry Pi board and plug into a composite monitor.  In some cases, it can be useful to have a composite monitor plugged into the Apple II output for running the Apple II Pi configuration program or for developers who want to run code directly on the Apple II (and see it’s output).

Is the Apple II Pi interface adapter required to run the Apple II Pi software?

No, the Apple II Pi software uses the Super Serial Card’s 6551 chip in a special, high-speed mode.  The Apple II Pi adapter card simply has a Raspberry Pi header for connecting the Raspberry Pi to provide the serial port interface and power.  To the Apple II software, the Apple II Pi interface adapter looks like a firmware-less Super Serial Card.  An Apple IIc with a functional serial connection between itself and the Raspberry Pi will work with the Apple II Pi software just fine; some additional parameters may need to be set in the client and/or server software.

Is the Apple II Pi Open Source?

Yes, all the code is available here: http://github.com/dschmenk/apple2pi

Does the Apple II Pi just accelerate the Apple II?

Not in the way a traditional Apple II accelerator would.  Because the Raspberry Pi is always running Linux, some configuration has to be made to give the illusion of being an Apple II accelerator through the GSport emulator.  But its strength is in bringing modern CPU+GPU hardware and a modern 32 bit OS (Debian Linux) to the Apple II platform.

Does the Raspberry Pi provide any services to the Apple II?

Update: New functionality has been added to the software that give the Apple II additions ProDOS drives through the PiDrive interface to the Linux daemon.  Once a connection has been established between the Apple II and Linux, the Apple II client can exit back to ProDOS and still have the addition virtual PiDrives available for reading & writing. The virtual drive images can be changed from Linux.

No, the Apple II is slaved to the Raspberry Pi as a dedicated I/O processor.  The Raspberry Pi’s network connection, memory, storage, etc. are not made available to the physical Apple II.  However, the GSport emulator can make use of the Raspberry Pi’s memory and speed, as well as many peripherals attached to the physical Apple II.  Any USB devices won’t be seen by the physical Apple II, but can be used by the GSport emulator.

Does the Apple II provide any services to the Raspberry Pi?

Yes, the Apple II is slaved to the the Raspberry Pi as a dedicated I/O processor.  Besides the keyboard and mouse input, the Apple II Pi uses a custom protocol that allows Linux applications and drivers to access the Apple II memory and execute arbitrary code on the Apple II.  This flexible protocol is how the Linux joystick driver was written and how the FUSE (File system in User SpacE) driver provides ProDOS volumes as Linux directories and files.  Additionally, some of the provided tools that come along with Apple II Pi allow interacting with AppleSoft BASIC running on the physical Apple II and running arbitrary 6502 binaries on the Apple II.

Do I have to learn Linux to use the Apple II Pi?

Depending on how your Apple II Pi is configured and how you plan on using it: maybe.   Because the Apple II Pi is always running Linux, you will have to interact with it at some level.  If your setup is configured to automatically run GSport and then shutdown, there isn’t much you have to learn except logging in.  However, the strength of the Apple II Pi lies in the fact it is running Linux, an industrial strength, modern operating system.  To use the full capabilities of the Apple II Pi requires interacting with Linux and the X Window System.  There are a large number of quality and free applications available for productivity, entertainment, programming, and education.  All of them are directly available for download to your Apple II Pi (http://www.debian.org).  This spirit of openness is what Woz had in mind when he developed the Apple II in the first place.

How do I access my Apple II storage media (floppies, SCSI drive, CFFA, etc.)?

By leveraging the FUSE (File system in User SpacE) subsystem, all the ProDOS volumes can be mounted in your user directory.  The filenames are munged in a similar manner to the way CiderPress manipulates the names.  In addition, the raw devices are available for making full volume copies and usage with emulators.  Both floppy drives in slot 6 show up as raw devices regardless of the type of format so that emulators can access non-ProDOS formatted floppy disks.

What is the point of the Apple II Pi?

To be able to use Apple II hardware in a more modern environment.  Although it is possible to use the Apple II as a terminal to a Linux computer, it doesn’t provide much of a modern GUI environment or digital compatibility with flat panel monitor/TVs.  Just as GS/OS brought a functional 16-bit GUI to the Apple IIgs (with 8-bit compatibility for Apple II programs), Apple II Pi brings an up-to-date 32-bit GUI and OS to the Apple II (with 8-bit and 16-bit compatibility by way of the GSport emulator).

Additional information:  There are other projects that may also be of interest.  Ivan Drucker has bundled up David Schmidt’s ADTPro along with some other functionality in his A2CLOUD project:

http://appleii.ivanx.com/prnumber6/category/a2cloud/

http://adtpro.sourceforge.net

Using your Apple II as a Linux terminal:

http://www.tuaw.com/2007/07/15/turn-your-apple-iie-into-a-linux-terminal/

Apple II Pi Software – System Code

1.0 Introduction:

Apple II Pi is a combination of Apple II code, Linux code, and a serial port connection (either cable or optional plug-in card for the Apple IIe). It integrates the Apple II ProDOS world into the Raspbian Linux world of the Raspberry Pi, thus creating Apple II Pi.

The code repository is at GitHub. https://github.com/dschmenk/apple2pi

2.0 a2pid:

On the Linux side, the Apple II Pi daemon runs in the background, listening to the Apple II on a serial port connection, listening on TCP/IP port 6502 6551 (so as not to conflict with GSport on port 6502) for Linux client connections, and managing the insertion of Apple II keyboard and mouse events into the Linux input subsytem. It’s not something normally visisble, but is the traffic cop between the Apple II, Linux input events, and Linux client programs that interact with the Apple II.

2.1 Keyboard Mapping:

a2pid is responsible for mapping the ASCII characters from the Apple II keyboard into modern scancodes used by the Linux input subsystem. Because of the limited number of keys, the Open-Apple and Solid-Apple keys are used as modifiers to the other keys. Open-Apple is mapped to the ALT key. Solid-Apple is used as a FN modifier key: it alters the arrow keys to HOME, END, PGUP, and PGDN. It also converts the number ksys into F1-F10 equivalents. Solid-Apple+DELETE becomes DEL instead of BACKSPACE. Two special key sequences have a backdoor function for Apple II Pi.  Open-Apple+Solid-Apple+DELETE will exit the Apple II client code, returning keyboard control back to the Apple II. If you want to resume interaction with the Linux daemon, you can either press RESET, re-run the A2PI:STARTUP program, or reboot the A2PI floppy.

3.0 a2serclk:

a2serclk is the utility required when using the optional plug-in card for Apple II Pi. Otherwise, it isn’t needed.

3.0 a2serclk is deprecated – it has been integrated into a2pid.

4.0 A2PI.PO:

The ProDOS disk image file. Inside you will find ProDOS version 1.9, MERLIN8 version 2.59 assembler, BASIC.SYSTEM version 1.5, the STARTUP program that loads the A2PI device driver, and the CONFIG program to configure the slot connection to a2pid. A2PI.S is the source to the device driver developed using the MERLIN8 assembler. The device driver is loaded into the upper ProDOS BASIC buffer space so it won’t interfere with BASIC programs. However, leaving BASIC will disconnect the A2PI driver and keyboard/mouse operations won’t be seen in Linux until STARTUP is re-run from BASIC.

5.0 Conclusion:

The programs that make up the foundation of Apple II Pi should be hidden from sight and “just work”.

Apple II Pi Software – Utilities

1.0 Introduction:
This documents the utilities included in the Apple II Pi project. See the project README.md for installation instructions.

2.0 Contents:

Interactive tools

a2mon – Apple 1 like monitor
bintomon – Binary to monitor format converter
a2term – Apple II console

Development tools

bload – Load binary file
brun – Run binary file
a2lib.c – Simple a2pid connection library

Disk image tools

dskread – Read disk image
dskwrite – Write disk image

Supplemental files

a2slideshow.mon – Famous slideshow program in monitor format

a2slideshow.bin – Famous slideshow program binary

execfile – Sample exec file for a2term

Other files

a2pid – Apple II Pi Linux daemon

A2Pi.PO

3.0 Interactive Tools:

These tools are used to interact with the Apple II from the keyboard and screen. As real Linux tools, they can also accept I/O redirection to automate keyboard input and capture output. The other common ability (with the exception of bintomon) of the tools is to be able to connect to Apple II Pi remotely over the network. A final, optional argument is the IP address of the Apple II Pi computer. The tools can be built for a multitude of Linux and Unix computers and run remotely, connecting to the Apple II Pi.

3.1 a2mon:

The Apple 1 has a very simple monitor program that can examine and change memory, as well as execute code. a2mon is modeled after that monitor. As such, it isn’t very powerful, but can be a valuable tool when combined with I/O redirection. You can incorporate complete programs in the monitor format, or just change a few bytes of memory. Calling code in RAM or ROM is simple.

There is a concept of current address. To specify an address, just enter it first on the command line. To change memory contents, enter a colon either after a specific address or by it self to use the current address followed by the bytes separated by spaces. Reading a range of memory involves specifying two address separated by a period. To begin execution of code (run) at a specific address or current address, type ‘r’. Finally, ‘q’, will quit the session and return.

Run as:

a2mon [IP addr]

3.2 bintomon:


Converting a binary file to a monitor input format can be accomplished with bintomon. The command is run as:

bintomon  <filename> [IP addr]

standard output can be redirected to save the formatted text or piped into a2mon.

3.3 a2term:

Probably the most interesting of the tools, a2term connects the Linux console to the Apple II console. a2term connects to the Apple II running ProDOS BASIC. This is roughly equivalent to using an old serial terminal connected to a Super Serial Card and issuing commands to redirect the keyboard and screen I/O hooks.

AppleSoft programs, ProDOS commands, and Monitor commands are all available. Like a2mon, the input and output can be redirected to files for automated keyboard input and ouput capture. Similar to running the EXEC command from ProDOS (and DOS 3.3). To quit, use the ESC-Q sequence. To send an actual ESC character, press ESC twice. The DELETE key has been remapped to BACKSPACE for convenience.

There are some limitations that have to be followed. The screen editing/cursor movement keys are not available. As mentioned before, the DELETE key now backspaces to aid editing. Do NOT leave AppleSoft BASIC, or the mouse and keyboard will be disconnected from Apple II Pi and you will have to re-start BASIC.SYSTEM from the A2PI boot disk. If you run a program that doesn’t do any screen or keyboard I/O, you will see that your mouse and keyboard are no longer reponsive. Apple II Pi relies on the screen and keyboard I/O hooks to provide the co-operative tasking between Apple II programs and Pi input events. CTRL-C will usually break into an AppleSoft program (may take a few trys) but machine code that isn’t responding will require a press of RESET. Not to worry, Apple II Pi will resync and return to BASIC (assuming memory hasn’t been overwritten). In drastic cases, an Apple II reboot may be necessary. Apple II Pi will resync and you may continue on.

Run as:

a2term  [IP addr]

4.0 Development Tools:
Apple II Pi really shines as a development environment for the Apple II. To aid in the rapid development process, these tools were created to test binaries created in the Pi’s native environment on the actual Apple II.

4.1 bload:

bload will read a file from the Linux filesystem and copy it into the Apple II memory at the address specified. Apple II Pi incorporated a relatively fast communications channel so this operation is about as fast as reading from the floppy. Run as:

bload <filename> [IP addr]

Hexadecimal addresses are entered in ‘0x’ format otherwise decimal addresses are assumed.

4.2 brun:

Like bload, brun will load the binary file but will also jump to the loading address. Run as:

brun <filename> [IP addr]

4.3 a2lib.c:

All the tools include a2lib.c as a very poor, cheesy, horrible, etc. way to implement the Apple II Pi daemon API. Only useful if you are looking to write your own tool or modify the code of the existing tools.

5.0 Floppy Disk Image Tools:

Getting floppy disk image files to and from actual floppy drives has been greatly simplified with wonderful tools like ADTPro. For most sophisticated image transfer applications, use something like ADTPro. However, when something cheap, quick, and dirty will suffice, these two tools can make fast work of reading or writing disk images. Both of these tools only work on a 5 1/4 floppy  in drive 1 of slot 6. The only image format they support is the ProDOS order: .PO

5.1 dskread:

dskread will read the disk in the floppy drive and create a disk image using the volume name on the floppy for the filename. If the disk volume is HELLO, HELLO.PO is the name of the resulting disk image file. Run as:

dskread [IP addr]

5.2 dskwrite:

Simple, just like dskread. dskwrite is run as:

dskwrite <filename> [IP addr]

It will prompt you to overwrite the current volume name. ‘Y’ or ‘y’ will proceed and the floppy will be written.

6.0 Supplemtal Files:

Thes files are supplements to the tools to demonstrate their operation.

6.1 a2slideshow.mon:

Use with a2mon as:

a2mon < a2slideshow.mon

Press ESC to leave the slideshow. The slideshow is displayed on the Apple II screen, not the Pis’s screen.

6.2 a2slideshow.bin

Use with brun as:

brun a2slideshow.bin 0x2000

Press ESC to leave the slideshow. The slideshow is displayed on the Apple II screen, not the Pis’s screen.

6.3 execfile:

Use with a2term as:

a2term < execfile

Watch it automate AppleSoft.

7.0 Other Files:

These are the other files in the distribution.

7.1 a2serclk:

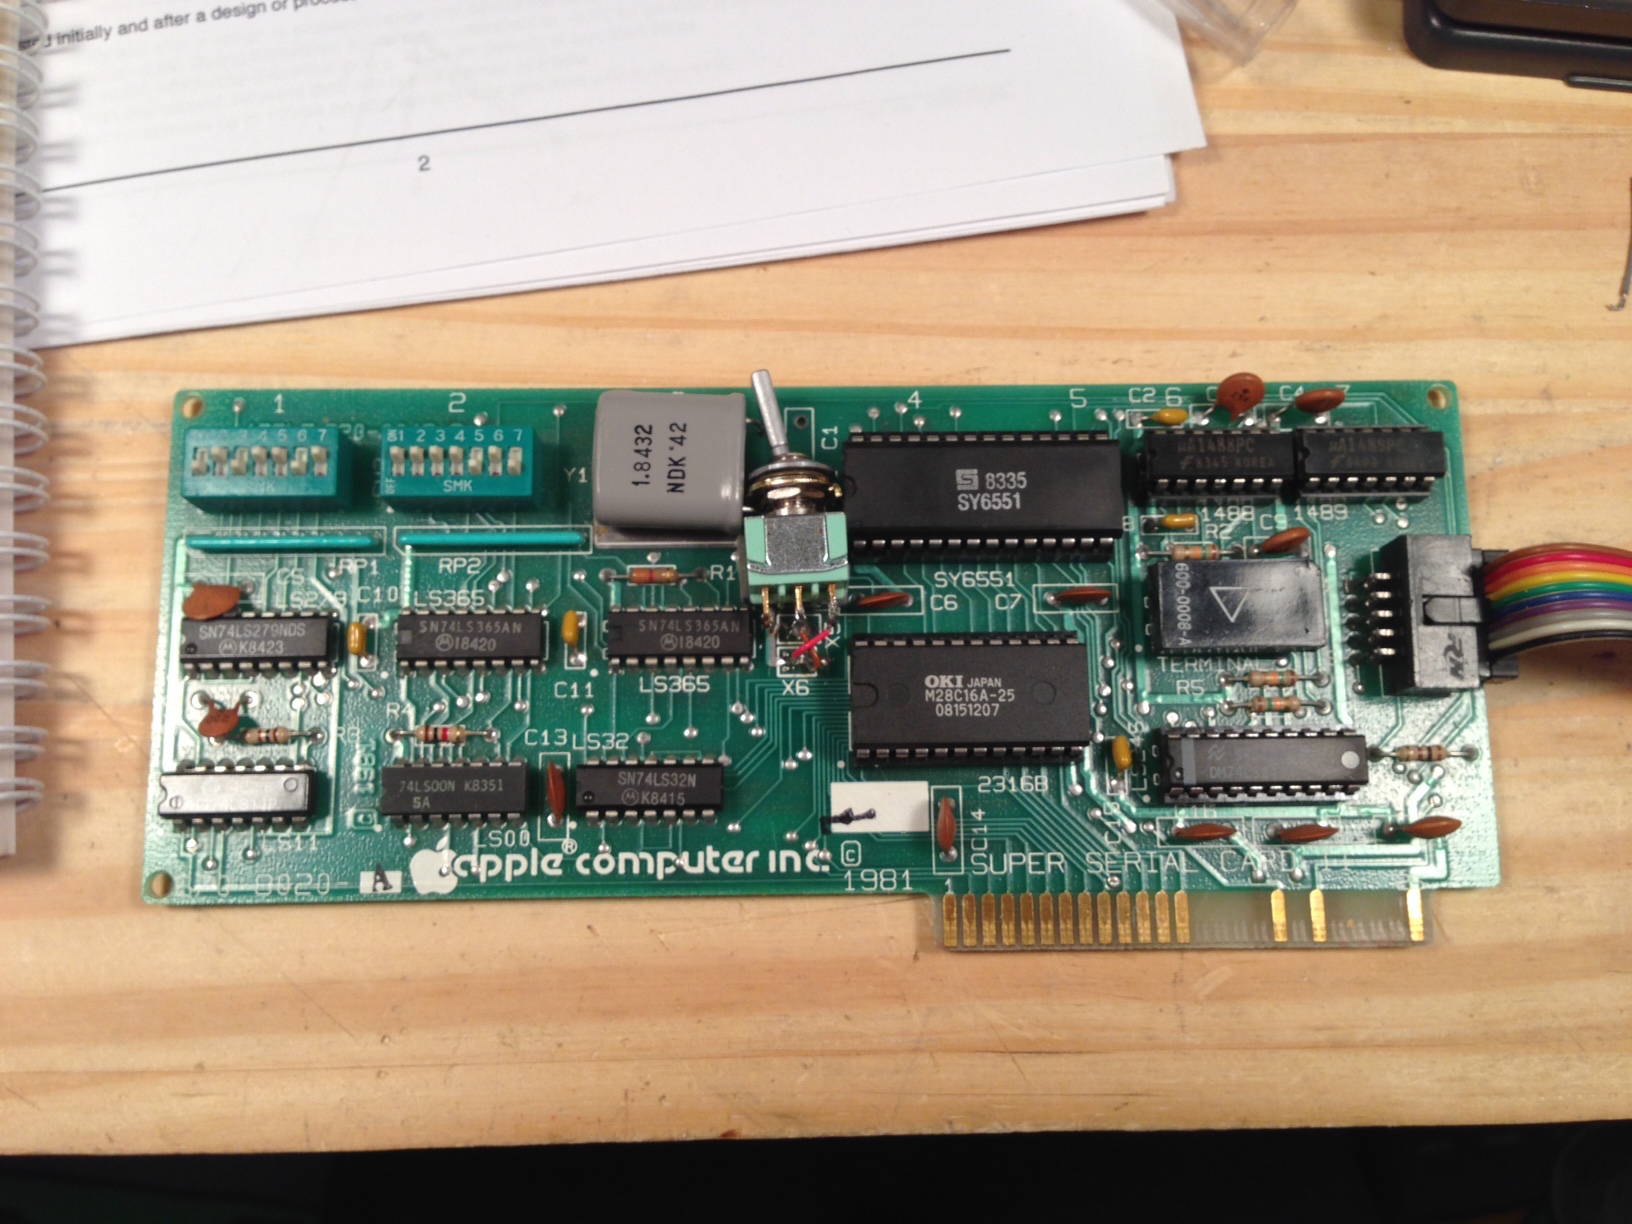
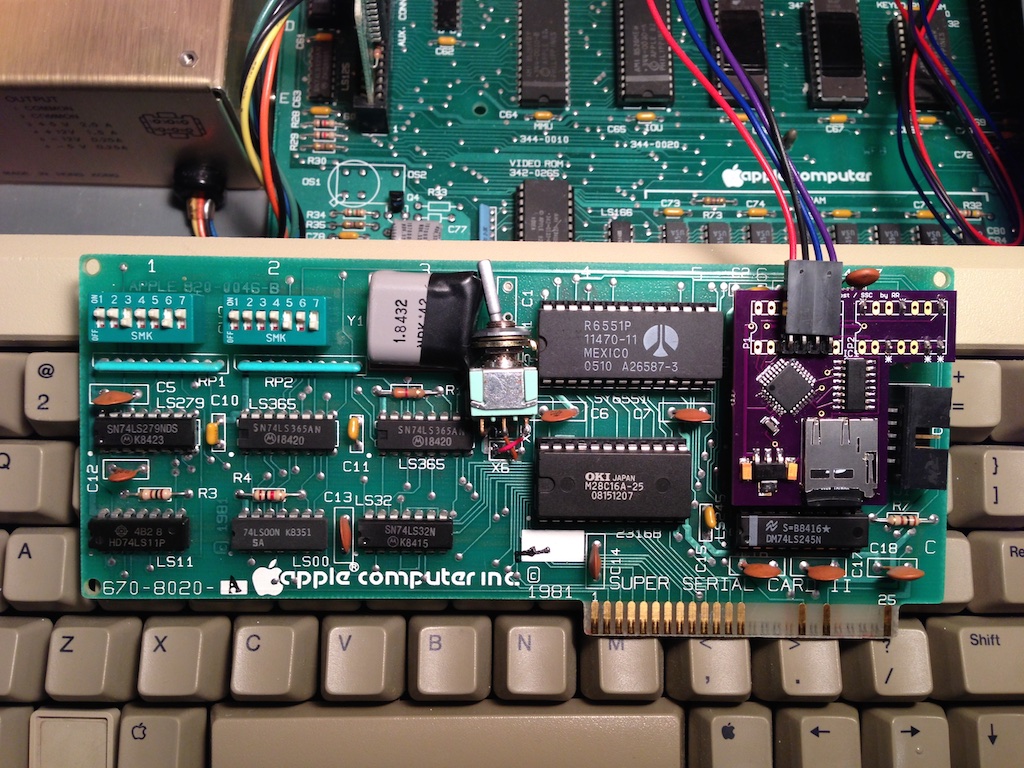
The Apple II Pi add-on card for the Apple IIe is a very minimal design that takes advantage of the built in General Purpose I/O (GPIO) pins of the Raspberry Pi. One of those pins is programmed by a2serclk to provide the clocking signal to the 6551 ACIA chip on the add-on card, thus saving a $2 crystal oscillator. Not needed if you are using an Apple //c or Super Serial Card in an Apple IIe to communicate to the Raspberry Pi.

7.2 a2pid:

The Linux daemon. See a2pid.txt.

7.3 A2PI.PO:

The Apple II client device driver and configuration utility.

8.0 Conclusion:

These tools are all very simple but adhere to the Unix principle of minimal funcionality with flexible I/O. They can be combined with shell scripts to create powerful commands. Feel free to add more.

Apple II + Raspberry Pi = Apple II Pi

One of the most interesting computers to come to market in the past year is the Raspberry Pi. Of the many uses I’ve come up with for this diminutive device is to treat it as an upgrade to my Apple II, or, thought of another way, the Apple II as a crazy cool case for the Raspberry Pi (RPi). Now, for the past 20 years, people have speculated what the next Apple II could look like. The last issue of Juiced.GS, the only remaining Apple II periodical, had an interesting article about the Apple II nx (next, unix, ???). Of course, everyone has their own idea of what the next Apple II should look like, but there are a few obvious traits:  at least 32 bit CPU (6502 derivative preferred), some sort of unix OS, up-to-date graphics, modern connectivity, programmer focussed. Kind of sounds like the RPi, huh? For those that don’t know, the RPi has an ARM processor (who’s designers used the 6502 as a source of inspiration), has a fairly powerful GPU with HDMI output (and composite output for us retro types), USB 2.0, SD card storage, and 512 MB of main memory on the Model B (256 MB on the Model A).

If the RPi was to work with the Apple II, what would the interface be?  The RPi has a 26 pin GPIO header capable of driving many types of serial and parallel protocols. There were some early discussions about how an RPi could interface to an Apple II bus and control the peripherals at a low level. There was never a satisfactory solution given the low number of I/O pins and the difficulty programming them in real-time from Linux. So I settled on a different approach – use the TTL serial port available on the RPi GPIO header as the communications channel between the RPi and Apple II. The Apple II becomes a co-processor, of sorts, to the RPi. An additional benefit of a serial interface is that the IIc can partake in the upgrade.  The Super Serial Card in the Apple IIe would be the first implementation of the serial interface followed by a dedicated prototype card that would accept the RPi and connect to an on-board serial chip.

A protocol was developed to allow the Apple II to communicate at 115K  baud without interrupts, sending keyboard and mouse events to the RPi.  The RPi can insert a request command to the Apple II, which will be followed by the Apple II enacting on the request in it’s event loop. Currently the RPi can request memory reads, memory writes, and calls.  A small assembly language program runs on the Apple II while a small daemon runs on the RPi.  Both talk to each other over the serial port; the Linux daemon inserts input events into the Linux input subsystem as well as having a socket interface to accept requests to pass on to the Apple II from external programs.

The software was developed on an Apple IIc with a serial cable connected to a TTL->RS232 converter on the RPi’s GPIO serial pins. Merlin 8 was used to develop the code locally on the Apple II while the Linux daemon was written in user mode C (no kernel modules). Neither program’s source code is particularly attractive, but they get the job done. You can find the source code and Apple II disk image on GitHub: https://github.com/dschmenk/apple2pi.  Note that this code isn’t really tied to the RPi.  It will actually work with any modern Linux distribution on an x86.

Apple II Pi will work just fine using off-the-shelf parts you can buy from eBay (or parts you already have).  However, if you want to take it to the next level and integrate your Raspberry Pi into your Apple IIe case for the ultimate upgrade, here is what you’ll need:

apple2pi schematic

I used a ribbon cable to bring the GPIO header around to the prototype card so the RPi would be oriented in such a way that the ports would still be accessible with the case on.  Unfortunately, the RPi has ports on all side, so I sacrificed the composite video and analog audio access. Here are some pictures of my prototype board with a Model A Raspberry Pi:

Back of the board: 

Front of the board: 

There is one final software addition needed before the hardware will work.  In the source distribution is a program called a2serclk.  This will program the GPCLK pin to output the 1.8432 MHz clock signal needed for the 6551 baud rate generator.  Without this, the 6551 would require a physical crystal oscillator connected to the XTALI and XTALO pins.  Place a call to” /usr/local/bin/a2serclk” right before the call to “/usr/local/bin/a2pid –daemon” in the /etc/rc.local init script.

Here is a three part video series showing the development of the project:
Part 1
Part 2
Part 3
Part 4